Suspended Cable Tool
The Suspended Cable Tool is used to create wire connections between poles and suspended lights.
These cables represent real-world overhead wiring systems and help improve infrastructure realism in RepliMap.
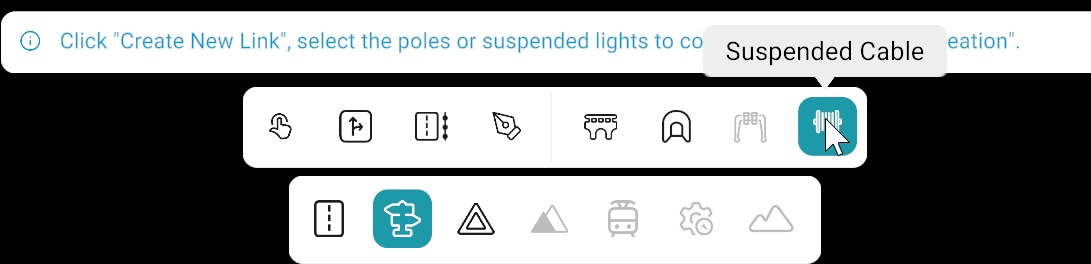
How to Create New Links
To create suspended cable connections:
- Click Create New Links in the Objects Link Panel.
- Left-click on the first pole.
- Left-click on the suspended light or second pole to connect it.
- A red link will appear, confirming the connection.
- Repeat the process for additional connections if required.
- Once finished, click Stop Creation.
- Enable Wire Settings.
- Adjust wire settings to match real-world appearance.
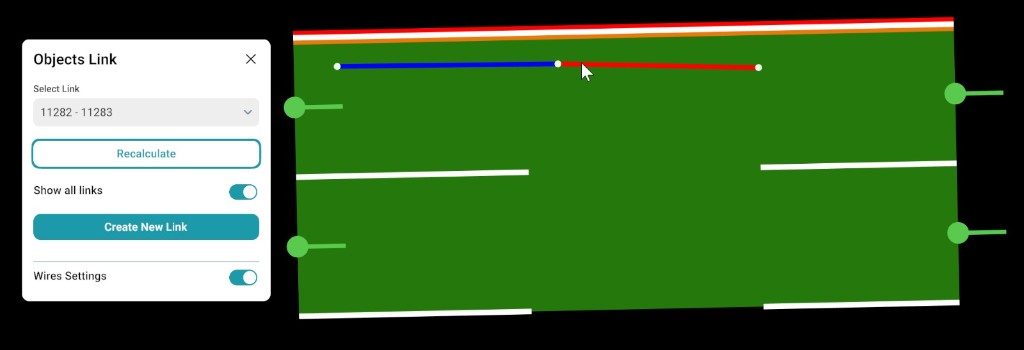
Wire Settings
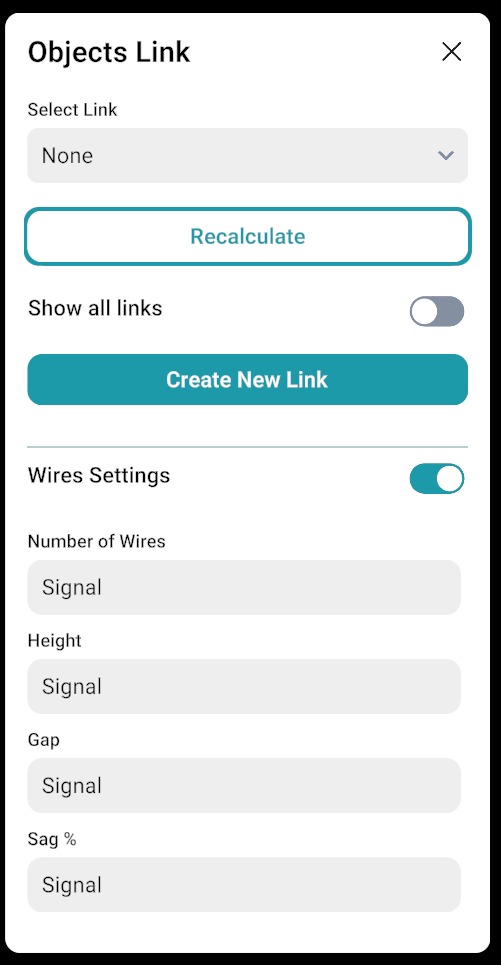
The Wire Settings option allows customization of cable appearance and behaviour.
Users can adjust settings to ensure realistic representation of suspended cables in the scene.
Objects Link Panel
| Option | Description |
|---|---|
| Select Link | Displays the list of existing links. Used to view or edit a specific connection. |
| Recalculate | Updates the selected link when objects are moved or modified. |
| Show All Links | Toggles visibility of all links in the scene. |
| Create New Links | Activates link creation mode to connect poles and suspended objects. |
Objects Link panel screenshot
Notes
Note
- A red line indicates an active cable connection.
- Always click Stop Creation after finishing link creation.
- Use Recalculate if object positions change.
- Wire appearance can be adjusted using Wire Settings for realism.